(Tiny Tips) – Formatting the best hard drive or SSD is the same as buying a new one as the process deletes all the data at once. Formatting a hard drive allows you to clean both internal and external storage media.
In this tutorial, we will explain how to format a hard drive using Command Prompt. Before proceeding, make sure to back up all available data to prevent data loss. To format the drive, follow these steps:


How to Format a Hard Drive Using the Command Prompt
STEP 1: Open Command Prompt As Administrator
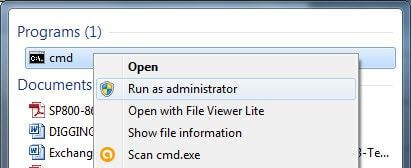
Search for “Command Prompt” and right-click and run as administrator.
STEP 2: Use Diskpart
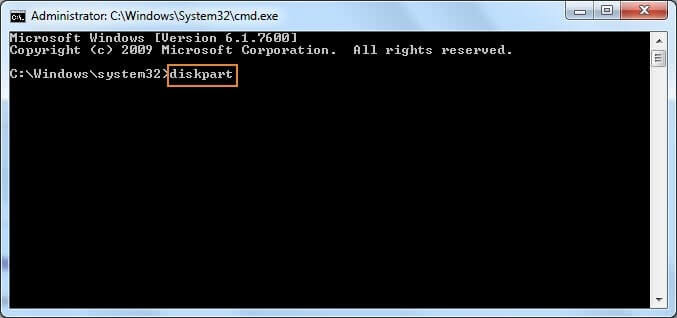
Once the command line opens, type “diskpart” and press Enter.
STEP 3: Type List Disk
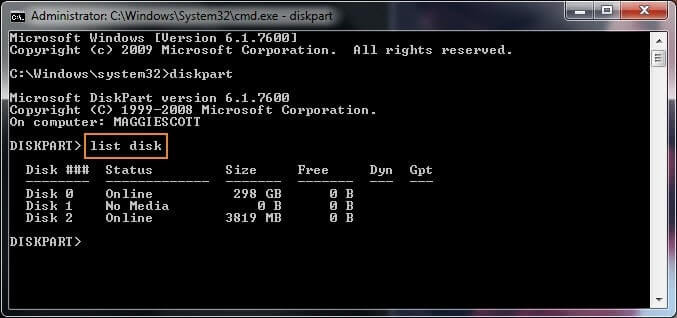
The above command will open a Diskpart window. In this window, type “list disk” and press Enter. List all available drives.
STEP 4: Select the Drive to Format
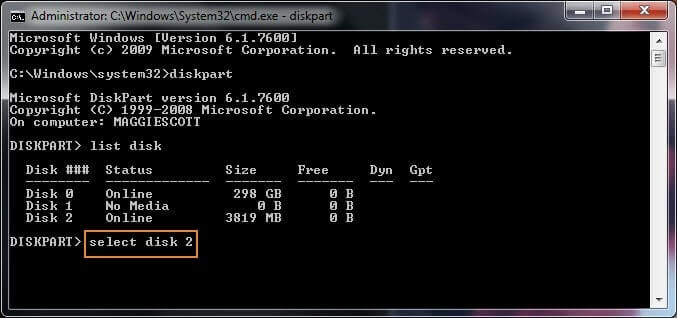
Now enter “select disk (disk number)” as shown above. Specify the drive letter that needs to be formatted.
STEP 5: Clean the Disk
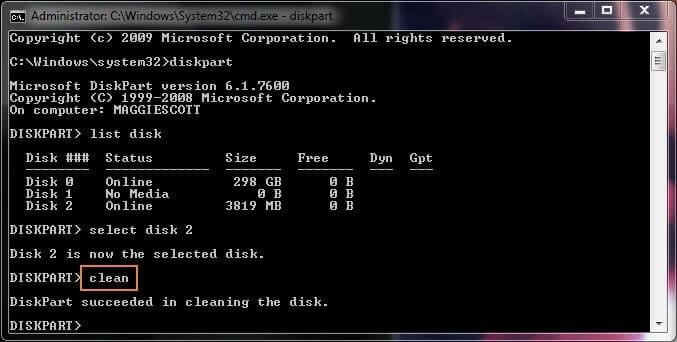
In this step, enter “clean“. This command will permanently delete all files and folders and clean the hard drive successfully.
STEP 6: Create Partition Primary
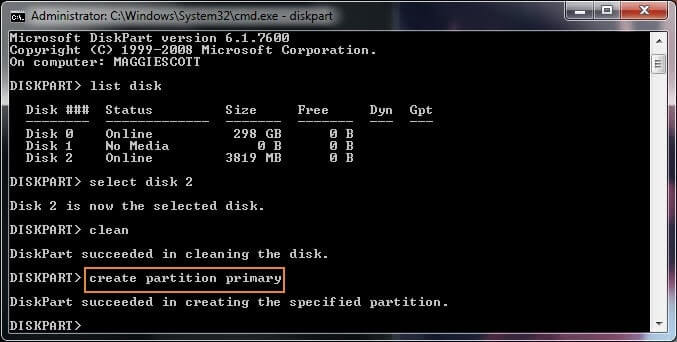
To make the drive accessible again, type “create primary partition“.
STEP 7: Format the Drive
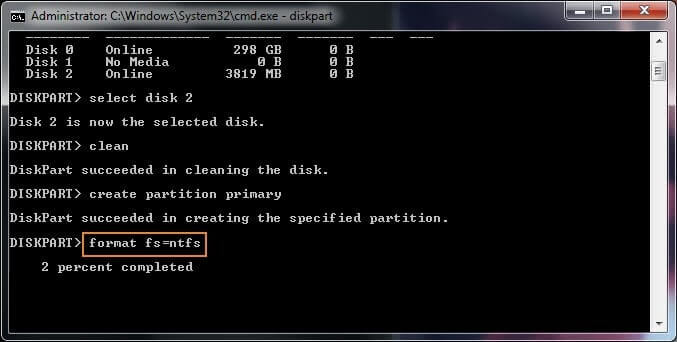
Now format the drive using FAT or NTFS file system. Type “format fs=ntfs” and press Enter.
Note
If you want to quickly format the drive, you can use the command “format fs=ntfs quick” (you can replace NTFS with exFAT or FAT32 according to your file system needs)
STEP 8: Assign a Drive Letter
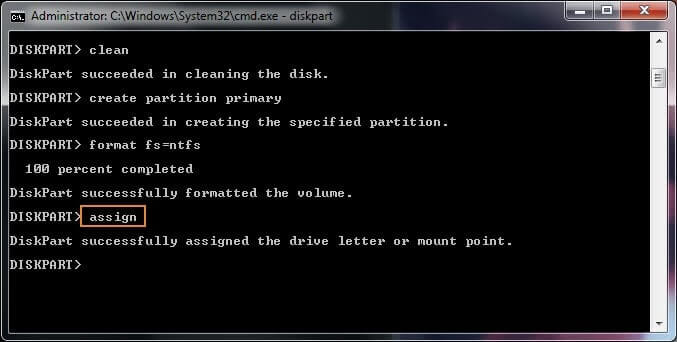
To assign a drive letter, you can type “assign” as shown below.
STEP 9: Exits DiskPart Program
When DiskPart reports that the volume has been successfully formatted, type “exit” and press Enter to close the program.


